How To Install the Arduino IDE
The Arduino IDE is a super useful tool for so many different kinds of projects. It isn’t just useful for Arduino Boards, but so many third party development boards are compatible with the Arduino IDE that it really becomes an invaluable tool to have in your tool chest.
The Arduino IDE can be installed on MasOS, Windows, or Linux, and it is a very simple process on all 3 operating systems.
Follow the steps below to download and install the Arduino IDE on your operating system.
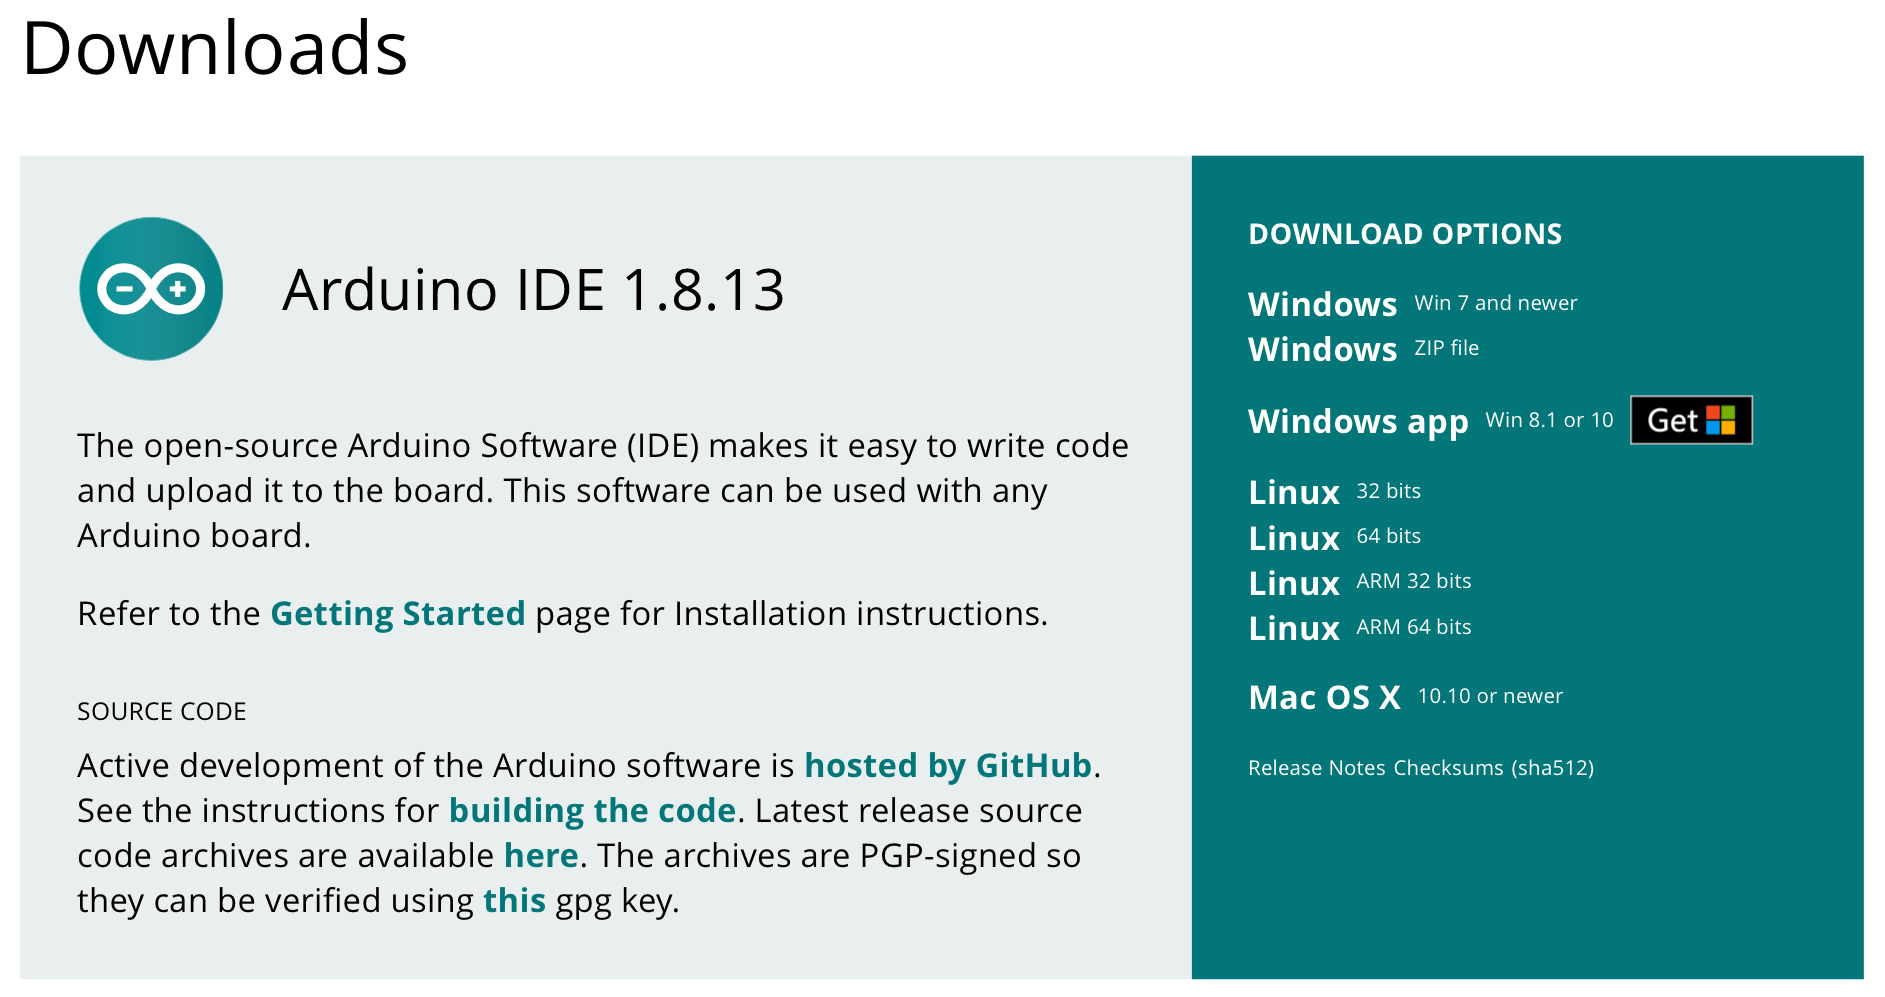
Step 1: Download the installation files
To download the Arduino IDE files for your operating system, go to https://www.arduino.cc/en/software and download the appropriate version for your operating system.
Step 2: Install the IDE
I will show you the steps to install the IDE on MacOS, Windows 10, and Ubuntu Desktop (Linux).
Installing on MacOS
The zip file downloaded for MacOS will contain an Arduino IDE .app file that looks something like this:
Once the file is downloaded and zipped, all you need to to is drag the app file to your Applications folder in the Finder.
And that’s it! You can now open the Arduino IDE from your application folder, put it in your doc, or search it in Spotlight.
Installing on Windows 10
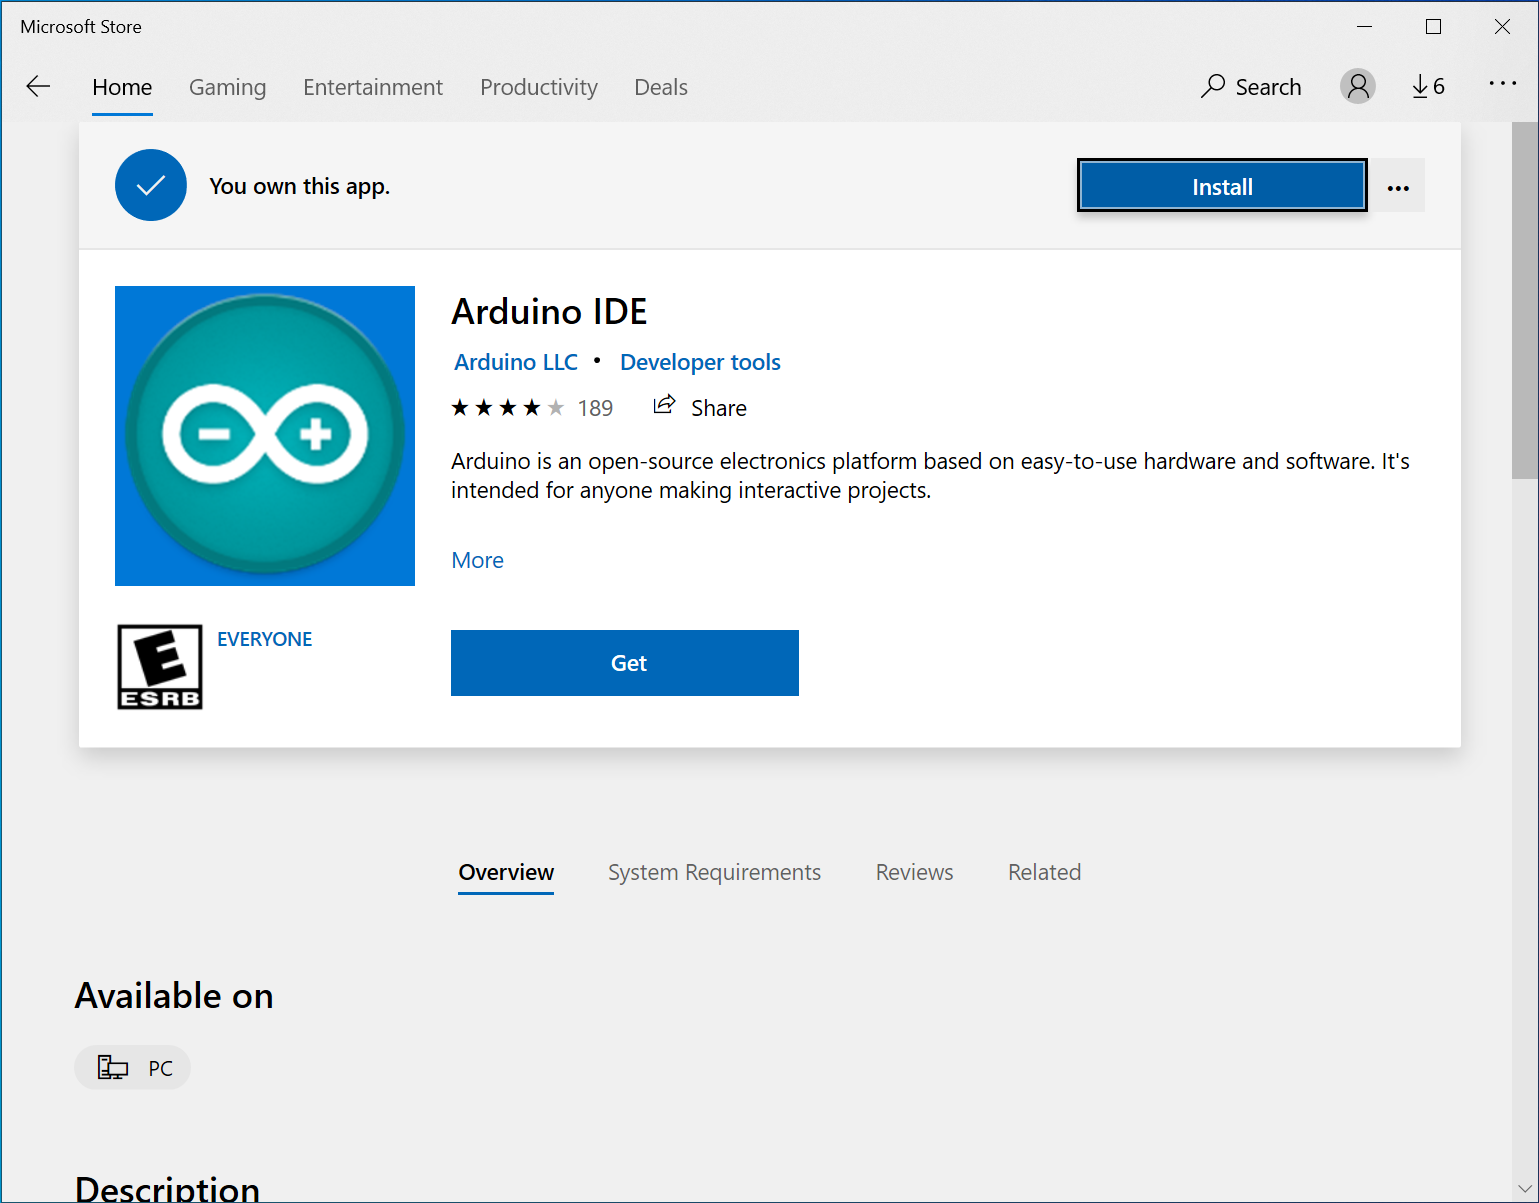
On Windows 10, installation is as simple as opening the Microsoft Store, searching for Arduino IDE and installing it.
Once installed, you can launch it straight from the Microsoft Store window, Start Menu, or pin it to your Desktop or Task Bar. That was easy!
If you are on a version of Windows 7, you can download the installed package from the Arduino IDE website and follow the installer prompts to complete the installation.
Installing on Ubuntu Desktop (Linux)
Once you have downloaded the installation files (tarball) from the Arduino IDE webpage, go ahead and open up a terminal window. Navigate to the directory you downloaded the tarball to (most likely Downloads) and run a ls command to see the tarball. (For clarity, I downloaded the Linux 64 bit tarball).
cd ~/Downloads
ls
Next we will untar or unzip the tarball with the following command:
tar xvf arduino-1.8.13-linux64.tar.xz
Keep in mind, if you have downloaded a newer version of the IDE your file name might be different from the one I used in my command.
After running the tar command, you will see a bunch of verbose output as the command decompresses the file. Once it is complete, running a ls command will show you that a folder titled arduino-1.8.13 has been created. Again, the version number may be different for you.
lsNavigating into the new arduino-1.8.13 folder, you will see a file called install.sh.
cd arduino-1.8.13/
ls
Finally we will finish the installation by running the following command on the install.sh file:
sudo ./install.sh
When prompted, enter your password to complete the installation. And that’s it! You can now launch the Arduino IDE by running the arduino command in your terminal, or from your OS launcher.
arduinoSummary
Congratulations! You have now installed the Arduino IDE and are ready to write some code and apply it to some really cool Arduino or other projects!


